Inserting a Table
You can insert a table into your content to display statistics and other data. MadCap Flare includes specific features for tables that make it easy to designate specific formatting for multiple types of table in a project. See “Creating a Table Style” for information about applying styles to tables.
- Place the cursor where you want the table to appear.
- Click the Insert tab to open the Insert ribbon.
- Click the Table icon in the Table section of the Insert ribbon. The Insert Table window appears.
- Delete the number in the space next to “Number of columns” and type the number of columns you want the table to have.
- Delete the number in the space next to “Number of rows” and type the number of data-containing rows you want the table to have.
- Delete the number in the space next to “Number of header rows” and type “1” if you want the table to have a header row in addition to the rows specified in step 5.
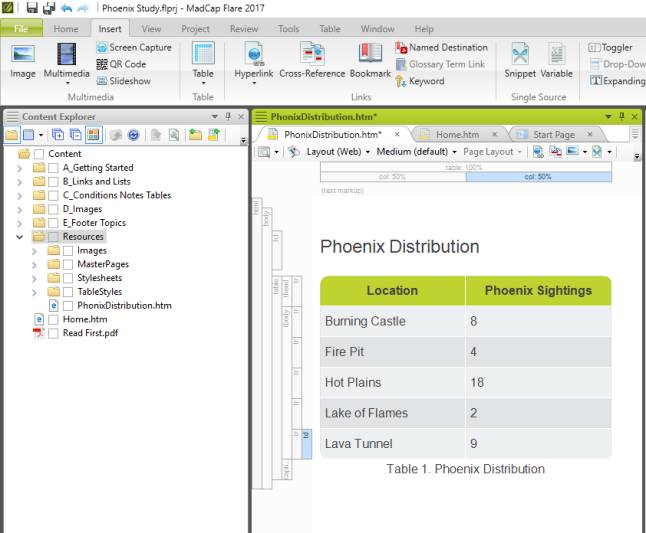
- Type a caption for the table in the space next to “Text” under "Table Caption."
- Select whether you want the caption to appear above or below the table by selecting the corresponding option in the drop-down menu next to “Side.”
- Choose which style you want to apply to the table by selecting the corresponding option in the drop-down next to “Table Style.”
- Note: You can see style options before generating the table by looking at the Preview section at the bottom of the Insert Table window.
- Click OK. The table appears in the topic.